


Article: Tank filter and heater for aquatic turtles
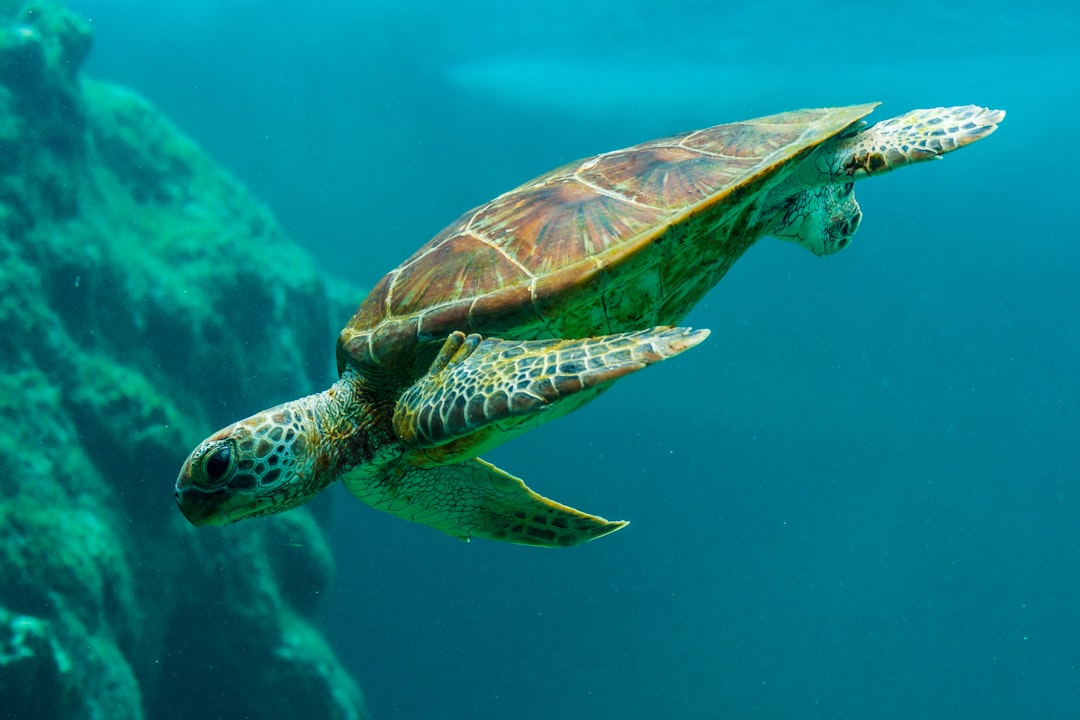
Tank filter and heater for aquatic turtles
Aquatic turtles are messy, temperature-sensitive pets, so their setup needs more than a basic aquarium filter and a random heat source. A reliable turtle tank filter, a properly chosen water heater, and a tank layout that supports easy cleaning all work together to keep the water clearer, the turtle more comfortable, and the habitat easier to maintain. This guide explains how to choose a tank filter and heater for turtles in a practical way, with simple checks you can use before buying or upgrading equipment.
What does a turtle tank filter and heater actually need to do?
A tank filter and heater for turtles need to support stable water quality and a safe water temperature while standing up to heavier waste than a typical fish tank produces. Turtles eat, shed, dig, and defecate in the water, which means the filter must handle solid debris and biological waste efficiently. The heater’s job is different but just as important: it helps keep the water within an appropriate range for the turtle species, reducing temperature swings that can stress the animal.
Think of the filter and heater as two separate systems with one shared purpose. The filter keeps the habitat cleaner by moving water through mechanical, biological, and sometimes chemical media. The heater keeps the aquatic area comfortable, especially in cooler rooms or during seasonal temperature changes. When both are chosen correctly, daily care becomes easier and the tank becomes more stable.

Why turtles need stronger filtration than fish tanks
A common mistake is choosing equipment based only on the size of the aquarium. Turtles place a much heavier load on water than many fish because they produce more solid waste and often tear food apart while eating. Uneaten food, plant matter, shed skin, and waste can quickly cloud water and create unpleasant odors if the filtration system is too weak.
This is why many keepers choose a turtle tank filter rated for more water volume than the tank actually holds. If a tank contains 40 gallons of water, a filter marketed for a much larger aquarium may still be a reasonable choice, depending on the turtle’s size, feeding habits, and tank layout. The goal is not to create a powerful current for its own sake, but to move enough water through the filter media to keep debris from settling and to support beneficial bacteria.
Strong filtration also helps reduce the frequency of major cleanouts. It does not eliminate maintenance, but it can turn a frustrating setup into one that is predictable. Clear water is not always the same as healthy water, so filtration should be paired with regular water changes and basic water testing when possible.
The three jobs of a good turtle tank filter
Not all tank filtration systems work the same way, but most effective setups handle three core tasks. Understanding these jobs makes it easier to compare filters without getting distracted by brand names or complicated features.
Mechanical filtration captures visible debris
Mechanical filtration is the physical trapping of particles. Sponge pads, filter floss, and coarse media catch food scraps, waste, and bits of shed skin before they circulate through the tank. For turtles, mechanical filtration matters a lot because the tank can become dirty quickly after feeding.
The best mechanical setup is easy to rinse or replace. If cleaning the filter is difficult, it is more likely to be delayed, and delayed maintenance usually leads to cloudy water. Look for a design that gives you quick access to the first stage of filtration because that is where larger debris usually collects.
Biological filtration supports beneficial bacteria
Biological filtration is where long-term water stability happens. Beneficial bacteria grow on porous media and help process waste compounds in the water. Ceramic rings, bio-balls, porous stones, and sponge media can all provide surface area for these bacteria.
This part of filtration should not be scrubbed aggressively or replaced all at once. If you remove too much established biological media, the tank can lose part of its natural waste-processing capacity. When cleaning biological media, rinse it gently in removed tank water rather than untreated tap water whenever possible.
Chemical filtration can polish water when needed
Chemical filtration uses media such as activated carbon to help reduce odors, discoloration, or certain dissolved substances. It is useful, but it should not be treated as the main solution for poor tank care. If the tank smells bad or turns cloudy quickly, the underlying issue is often overfeeding, weak mechanical filtration, insufficient water changes, or a filter that is too small.
Chemical media also becomes exhausted over time. If you use it, follow a consistent replacement schedule and avoid assuming it is still working months later. For many turtle keepers, strong mechanical and biological filtration are the foundation, while chemical media is an optional finishing step.
Choosing the right turtle tank filter style
There are several filter styles that can work for aquatic turtles, but some are more practical than others. The best choice depends on tank size, water depth, turtle size, available space, and how comfortable you are with maintenance.
Canister filters are a strong option for many turtle tanks
Canister filters are popular for turtle setups because they usually offer large media capacity and strong water movement. They sit outside the tank, pull water in through an intake, push it through multiple layers of media, and return filtered water to the habitat. This makes them useful for medium and large tanks where internal filters may not provide enough capacity.
A canister filter can also be customized. You can arrange coarse mechanical media, finer polishing pads, and biological media in a way that suits the tank. The tradeoff is that canisters require careful setup and periodic cleaning. They are not difficult once you understand the process, but they do need more attention than a simple hang-on-back filter.
Internal filters can work in smaller or shallow setups
Internal filters sit inside the tank and are often easier to install. They can be helpful in smaller habitats, temporary enclosures, or setups where the water level is too low for other filter types. Some internal filters also create useful water movement near the bottom of the tank, where debris tends to settle.
The downside is limited media space. A small internal filter may clog quickly in a turtle tank, especially with a growing turtle. If you use one, choose a sturdy design, check it often, and be realistic about whether it is a temporary solution or a long-term fit.
Hang-on-back filters have limitations with turtles
Hang-on-back filters can be convenient, but they are not always ideal for aquatic turtles. Many require a higher water level than a turtle tank may have, and their media capacity can be limited compared with canister filters. They may work for certain setups, especially when paired with other filtration, but they should be chosen carefully.
If using this style, make sure the intake reaches the water properly and the outflow does not create unsafe splashing or an escape route. Turtles are strong and curious, so equipment should be secure, stable, and protected from climbing or pushing.
How do you choose a safe heater for an aquatic turtle tank?
Choose a heater that is designed for aquarium use, sized for the amount of water in the tank, and protected from direct impact by the turtle. Aquatic turtles can bump, shove, and investigate equipment, so a heater should be durable, fully submersible if used underwater, and ideally protected with a heater guard. It should also be paired with a separate thermometer so you can confirm the water temperature instead of relying only on the heater dial.
A heater is not always optional. Many aquatic turtle species need warm water to digest food, stay active, and maintain normal behavior. The exact temperature range depends on the species and life stage, so always check care guidance for the specific turtle you keep rather than using a single generic number for every turtle.
Heater wattage should match real water volume
Heater sizing is usually based on gallons of water, not the total listed size of the aquarium. Turtle tanks are often only partially filled because they need a basking area and safe access to air. That means a 75-gallon aquarium might hold far less than 75 gallons of water.
Before choosing wattage, estimate the actual water volume. Also consider room temperature. A tank in a cool basement may need more heating support than one in a consistently warm room. In larger tanks, some keepers use two smaller heaters placed apart rather than one high-powered heater, which can help distribute heat more evenly and provide backup if one unit fails.
Heater placement affects performance and safety
Place the heater where water moves steadily, such as near the filter outflow or in an area with good circulation. This helps distribute warmth throughout the tank instead of creating one warm pocket and several cooler areas. Avoid burying the heater under decorations or placing it where the turtle can wedge itself against it.
Use suction cups, guards, or secure mounting hardware to keep the heater in position. A loose heater can knock against glass, drift into a basking ramp, or become a target for the turtle. After installation, monitor the tank for several days to make sure the temperature stays stable at different times of day.

Building tank filtration systems that are easy to maintain
The best tank filtration systems are not only powerful; they are easy to service. A filter that looks impressive but is frustrating to clean may become a problem over time. Before buying, think through how you will open it, rinse media, restart it, and access hoses or intake parts.
A practical setup should include:
- Accessible mechanical media: The dirtiest filter stage should be the easiest to reach because it needs the most frequent cleaning.
- Enough biological media: Give beneficial bacteria plenty of stable surface area so the system can process waste more consistently.
- Protected intake: Use a strainer or guard so the turtle cannot get stuck, damage equipment, or pull parts loose.
- Manageable flow: Water should circulate well without exhausting the turtle or turning the tank into a whirlpool.
- Simple hose routing: Hoses and cords should be neat, secure, and placed where they do not invite climbing or chewing.
- Room for growth: A small juvenile turtle may outgrow both the tank and the filter, so plan for adult size whenever possible.
Maintenance is part of the system, not a separate chore. Even excellent filtration cannot remove every dissolved waste product forever. Partial water changes, debris removal, and media rinsing keep the filter from becoming a trap for decaying material.
A simple setup checklist before you add the turtle
Setting up equipment before the turtle enters the habitat gives you time to catch problems. It is much easier to adjust flow, secure cords, or replace a heater before an animal is already living in the tank.
Use this checklist as a practical starting point:
- Confirm the actual water volume. Measure or estimate how much water the tank holds once the basking platform and water level are set.
- Choose filtration with extra capacity. Select a turtle tank filter that can handle heavy waste, not just the aquarium’s listed size.
- Arrange filter media in stages. Put mechanical filtration before biological media so large debris is captured early.
- Install the heater securely. Use a guard if needed and place the heater where the turtle cannot easily slam into it.
- Add a separate thermometer. Check the water temperature independently so you know the heater is performing correctly.
- Test water movement. Watch for dead spots where debris settles and adjust the outflow or add circulation if needed.
- Check basking access. Make sure the turtle can leave the water easily and that equipment does not block the route.
- Run the system first. Let the filter and heater operate long enough to confirm steady flow, stable temperature, and no leaks.
This checklist also helps when upgrading an existing tank. If water quality is poor, work through each step before assuming the turtle itself is the problem. Most cloudy, smelly, or hard-to-clean tanks come down to equipment capacity, feeding mess, maintenance rhythm, or tank size.
Common mistakes that make turtle tanks harder to keep clean
Many turtle tank problems are preventable. Small setup choices can create weeks of extra work, while a few better habits can make the habitat easier to manage.
One common mistake is underfiltering. A filter that works well for a lightly stocked fish aquarium may struggle in a turtle tank. Another mistake is replacing all filter media at once, which can disrupt beneficial bacteria and make the water less stable. It is better to clean or replace media in stages when possible.
Overfeeding also creates avoidable waste. Turtles can be enthusiastic eaters, and extra food quickly breaks down in the water. Feeding in a separate container is an option some keepers use to reduce mess, although it depends on the turtle’s temperament and routine. If feeding in the tank, remove uneaten food promptly.
Unsafe heater placement is another issue. A heater without protection can be bumped or broken by an active turtle. Glass heaters in particular should be used with care, and any damaged heater should be removed immediately. Electrical equipment and water require caution, so drip loops, proper outlets, and manufacturer instructions matter.
Signs your filter or heater may need an upgrade
Equipment does not always fail suddenly. Often, it gives small warning signs that the setup is no longer keeping up with the turtle’s needs. Paying attention early helps prevent bigger water quality or comfort issues later.
Watch for these signs:
- Water becomes cloudy again soon after cleaning.
- Debris collects in corners or around decorations.
- The filter clogs quickly or loses flow between cleanings.
- Odor returns even with regular water changes.
- The turtle has grown significantly since the filter was purchased.
- The water temperature swings during the day or night.
- The heater stays on constantly but cannot maintain the target range.
- The turtle repeatedly moves or knocks into equipment.
An upgrade does not always mean buying the most expensive product. Sometimes it means adding more biological media, improving flow direction, cleaning mechanical media more often, or securing the heater better. The right fix depends on the actual problem.
Creating a healthier routine around the equipment
Good equipment works best with consistent habits. A turtle tank filter can only process waste effectively if it is maintained, and a heater can only keep water stable if it is checked. Build a routine that is simple enough to repeat every week.
A useful rhythm might include quick daily observation, weekly debris removal, scheduled partial water changes, and monthly filter inspection. The exact timing depends on the tank, turtle size, feeding schedule, and filter capacity. Instead of waiting for the tank to look dirty, use a routine that prevents buildup.
Keep notes when you make changes. If you upgrade a filter, adjust feeding, change water depth, or move the heater, observe what happens over the next several days. Clearer water, steadier temperature, and less debris buildup are signs the setup is moving in the right direction.
Final takeaway
A dependable tank filter and heater for turtles makes aquatic turtle care cleaner, safer, and more predictable. Choose filtration that is strong enough for turtle waste, use media that supports both debris removal and beneficial bacteria, and install a heater that is secure, properly sized, and verified with a thermometer.
The best setup is not just about buying equipment; it is about creating a system you can maintain. When the filter, heater, basking area, and cleaning routine all work together, your turtle gets a more stable habitat and you get a tank that is much easier to enjoy.

Written by Talis Us



Leave a comment
This site is protected by hCaptcha and the hCaptcha Privacy Policy and Terms of Service apply.