


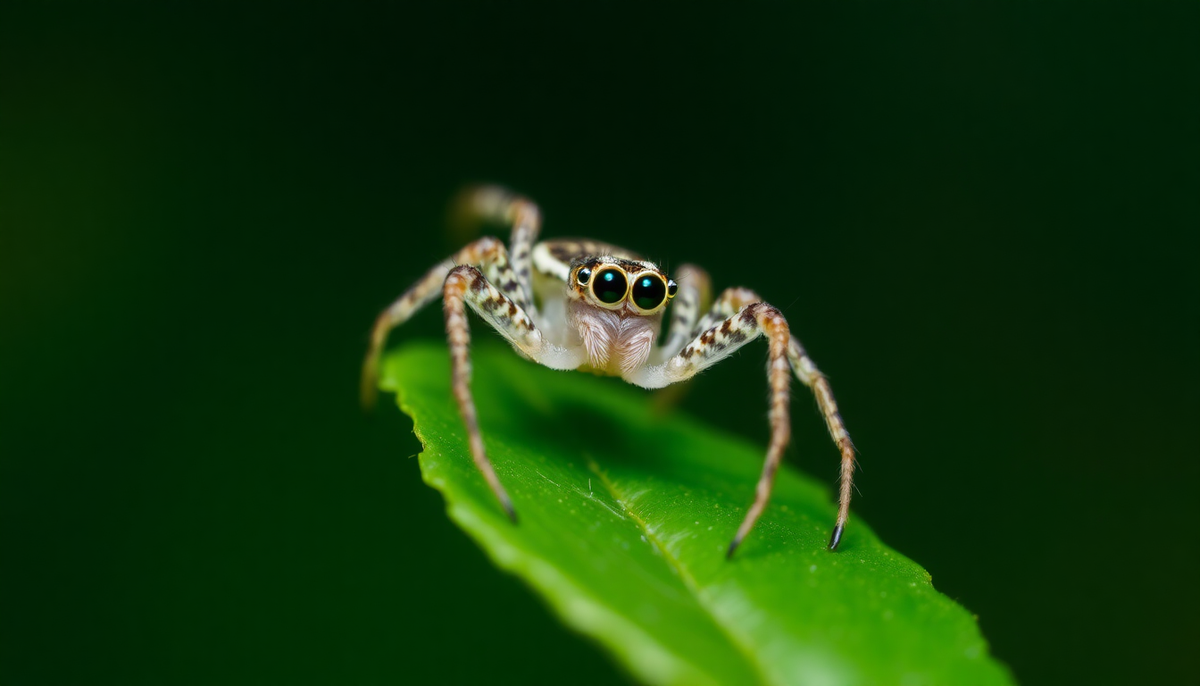
Setting Up Your Zoo Med Jumping Spider Habitat Kit: A Step-by-Step Family Guide
Welcome a tiny, charismatic jumping spider into your home – an exciting adventure full of wonder and discovery! The thought of creating the perfect environment for your new eight-legged friend might seem intimidating, but fear not. This comprehensive, family-friendly guide transforms any apprehension into pure enjoyment, making the entire setup process an engaging and educational experience for everyone.
We understand you want the best for your new pet, and that's precisely what we'll help you achieve, step-by-step. Our detailed instructions focus specifically on utilizing the popular Zoo Med Jumping Spider Habitat Kit, ensuring you can confidently assemble a safe, stimulating, and beautiful home without guesswork. You’ll discover just how easy it is to create an ideal sanctuary for your arboreal companion, turning a chore into a rewarding project.
From unpacking your Zoo Med Jumping Spider Habitat Kit to arranging every element, this guide covers it all. We’ll walk you through selecting and layering the appropriate substrate, strategically placing branches and leaves for climbing and hunting, and adding the perfect decorative touches that encourage natural behaviors. Consider this your ultimate Pet Spider Enclosure Guide, meticulously crafted to ensure a seamless and stress-free Jumping Spider Habitat Setup. By the end, you'll have a perfectly appointed enclosure, ready to welcome its tiny inhabitant, fostering a happy, healthy environment where your jumping spider can thrive, and your family can observe and enjoy.
Key Benefits and Features
The Zoo Med Jumping Spider Habitat Kit offers an all-in-one solution, expertly designed to simplify the Jumping Spider Habitat Setup process. It provides numerous benefits for both your pet and family. Here’s why it’s the ideal choice:
* Ultimate Convenience and Completeness: The Zoo Med Jumping Spider Habitat Kit offers unparalleled convenience, providing a comprehensive, all-in-one solution for your new pet. It eliminates the hassle of sourcing individual components, making the initial Jumping Spider Habitat Setup incredibly straightforward and stress-free. Families can immediately enjoy the exciting world of arachnid keeping, confidently knowing everything needed is included in one convenient package. It’s the perfect starter for any beginner.
* Species-Specific Design for Optimal Comfort: This kit boasts a thoughtful, species-specific design. The enclosure, substrate, and decor elements are meticulously chosen to replicate a natural, stimulating environment ideal for jumping spiders. It ensures proper ventilation, crucial for maintaining air quality and preventing mold, while providing essential vertical climbing space that these arboreal creatures require. This dedicated design helps your pet thrive, effectively serving as a reliable Pet Spider Enclosure Guide.
* Educational and Engaging Family Experience: Beyond simply providing a home for your pet, setting up the Zoo Med Jumping Spider Habitat Kit offers a fantastic hands-on learning opportunity for the whole family. Following our step-by-step guide encourages teamwork, responsibility, and fosters an appreciation for the natural world. Children can learn about arachnid behavior and the importance of creating suitable environments, transforming a simple setup process into an engaging, educational adventure. It’s an interactive way to introduce pet care and scientific observation.
* Prioritized Safety and Security for Your Pet: The kit prioritizes your jumping spider's safety and well-being above all else. The enclosure features secure locking mechanisms to prevent accidental escapes, which is a common concern for small, agile pets. All included components are non-toxic and designed to be safe for delicate invertebrates, ensuring no harmful chemicals or sharp edges can endanger your spider. This commitment to safety provides peace of mind, knowing your Jumping Spider Habitat Setup is not only enriching but also completely secure.
* Aesthetic Appeal and Easy Maintenance: Not only is this kit highly functional, but it also offers an attractive design that blends seamlessly into any room. The included decor elements, such as naturalistic branches or silk plants, create a visually appealing mini-ecosystem that's a joy to observe. Furthermore, the thoughtful design facilitates easy access for feeding and cleaning, making ongoing maintenance simple and quick. This ensures your Pet Spider Enclosure Guide becomes a beautiful, low-stress addition to your home environment.
Step-by-Step Guide
Setting up your new Zoo Med Jumping Spider Habitat Kit is an exciting process that ensures your new eight-legged companion has a safe, stimulating, and comfortable home. This "Pet Spider Enclosure Guide" will walk you through each crucial step.
Unpack and Inspect Your Kit Contents
Carefully unpack all components of your Zoo Med Jumping Spider Habitat Kit. Lay everything out to ensure you have all the listed items: the enclosure itself, substrate, decor pieces (like cork bark or plastic plants), and any included accessories such as a thermometer/hygrometer. Inspect the enclosure for any cracks or damage from shipping, and confirm all lids and doors function correctly. This initial check is vital for a secure "Jumping Spider Habitat Setup".
Clean the Enclosure and Decor
Before adding anything permanent, it’s essential to thoroughly clean the enclosure and all decor items. Use only warm water to gently wipe down the inside and outside of the habitat. Avoid using soaps or chemical cleaners, as residues can be harmful to your jumping spider. Rinse everything well and allow all components to air dry completely. This step ensures a hygienic environment for your new pet.
Add the Substrate Layer
Your Zoo Med Jumping Spider Habitat Kit typically includes a suitable substrate like coco fiber. Open the substrate package and follow any instructions for rehydrating it if necessary (usually just adding a small amount of dechlorinated water). You want it damp, not soaking wet. Spread a thin, even layer (about 0.5 to 1 inch deep) across the bottom of the enclosure. This layer helps maintain humidity and provides a natural base for your "Jumping Spider Habitat Setup".
Arrange Decor and Climbing Structures
This is where you get to be creative! Jumping spiders are arboreal, meaning they love to climb, explore, and build their silken hammocks high up. Arrange the included cork bark, plastic plants, and any other suitable decor items to create a visually interesting and functional habitat. Focus on providing plenty of vertical climbing opportunities, secure anchor points for their webbing, and a few sheltered spots for hiding. Ensure all decor is stable and won't tip over. Think about creating a varied landscape, from the bottom to the top of the enclosure.
Prepare for Hydration
Jumping spiders primarily get their water from misting. Lightly mist the inside walls and decor of the enclosure a few times a week with dechlorinated water. You want to see small droplets, not puddles. Your Zoo Med Jumping Spider Habitat Kit might include a small spray bottle, or you can use your own. Ensure there are always water droplets available for your spider to drink from. Some keepers also like to include a tiny, shallow water dish, but regular misting is usually sufficient.
Final Habitat Check
Before introducing your jumping spider, do a final review of your "Jumping Spider Habitat Setup". Ensure the lid is secure, there are no unintended gaps your tiny friend could escape through, and all decor is stable. Check the thermometer/hygrometer to ensure temperature and humidity levels are appropriate for your specific jumping spider species (generally room temperature and moderate humidity). Once satisfied, your pet spider enclosure is ready for its new inhabitant!
Best Practices and Pro Tips
Setting up your Zoo Med Jumping Spider Habitat Kit is just the first step; maintaining an optimal environment is key to your arachnid companion's well-being. Here are some best practices and common pitfalls to avoid for a thriving Jumping Spider Habitat Setup:
1. Master Humidity, Avoid Stagnation: Jumping spiders need consistent humidity (around 60-70%), but too much stagnant moisture can lead to mold and respiratory issues. Lightly mist one side of the enclosure daily or every other day, allowing droplets to form on surfaces for your spider to drink. Never soak the substrate or leave standing water. Ensure the kit's ventilation is unobstructed to promote good airflow, preventing condensation and stagnant air. A small digital hygrometer can be a useful, affordable addition to monitor conditions, even if not part of the basic kit.
2. Secure Your Decor, Think Vertically: Jumping spiders are arboreal and love to climb. When arranging the decor provided with your Pet Spider Enclosure Guide, or adding your own, ensure everything is firmly anchored. Hot glue can be used for securing artificial plants or branches. Prioritize vertical elements like twigs, vines, and leaves to maximize climbing space. A common mistake is providing too much horizontal space and not enough vertical enrichment, which can stress these agile jumpers.
3. Strategic Placement is Paramount: Choose a permanent home for your habitat that is quiet, stable, and away from direct sunlight. Direct sun can quickly overheat the small enclosure, proving fatal. Avoid drafty areas, loud vibrations (like near speakers), or high-traffic zones. A stable room temperature, ideally between 70-78°F (21-26°C), is perfect. Don't place it on a window sill where temperatures can fluctuate wildly.
4. Feeding and Watering Wisely: Offer appropriately sized feeder insects – no larger than your spider's abdomen. Young spiders (slings) may need feeding every 2-3 days, while adults eat 1-2 times a week. Remove any uneaten live prey after 24 hours to prevent it from stressing or potentially harming your spider, especially during molting. Your spider gets most of its water from misting; small water dishes can easily drown a tiny spider or raise humidity excessively.
5. Respect the Molt: Jumping spiders grow by molting (shedding their exoskeleton). If your spider becomes lethargic, stops eating, seals itself into a dense web hammock, or looks dull, it's likely preparing to molt. This is a critical, vulnerable time. Do not disturb or handle your spider, and maintain consistent humidity. Attempting to feed or open the hammock can be detrimental.
6. Prioritize Cleanliness: Spot clean droppings or old food items regularly. If you notice any mold growth, remove it immediately. Depending on maintenance, a full substrate change might be necessary every 3-6 months. Always have clean hands when performing maintenance, and be gentle!
Conclusion
You’ve journeyed through every crucial step, from unboxing to adding the finishing touches, and now possess all the knowledge needed to create a thriving home for your new companion. Remember, a successful Jumping Spider Habitat Setup isn't just about placing items; it's about crafting a safe, stimulating environment that mimics their natural habitat. This guide has demonstrated how the Zoo Med Jumping Spider Habitat Kit simplifies this process, providing all the essential components for a secure and comfortable enclosure right out of the box.
We've covered the importance of proper ventilation, suitable substrate, secure climbing structures, and reliable hydration – all vital elements for your jumping spider's health and happiness. By following these easy, family-friendly steps, you’re not just setting up an enclosure; you're embarking on a fascinating educational experience that fosters responsibility and a deeper appreciation for the natural world. This experience, guided by our comprehensive Pet Spider Enclosure Guide, ensures you're well-prepared.
Now, with this newfound confidence and detailed understanding, it's time to put theory into practice. Don't delay! Gather your family, refer back to any step if needed, and confidently begin assembling your spider's new home. The joy of watching your jumping spider explore its perfectly prepared habitat is truly rewarding. Get started today and welcome your amazing new pet into a carefully curated world, all thanks to the intuitive design of the Zoo Med kit and your dedicated effort.


Leave a comment
This site is protected by hCaptcha and the hCaptcha Privacy Policy and Terms of Service apply.