


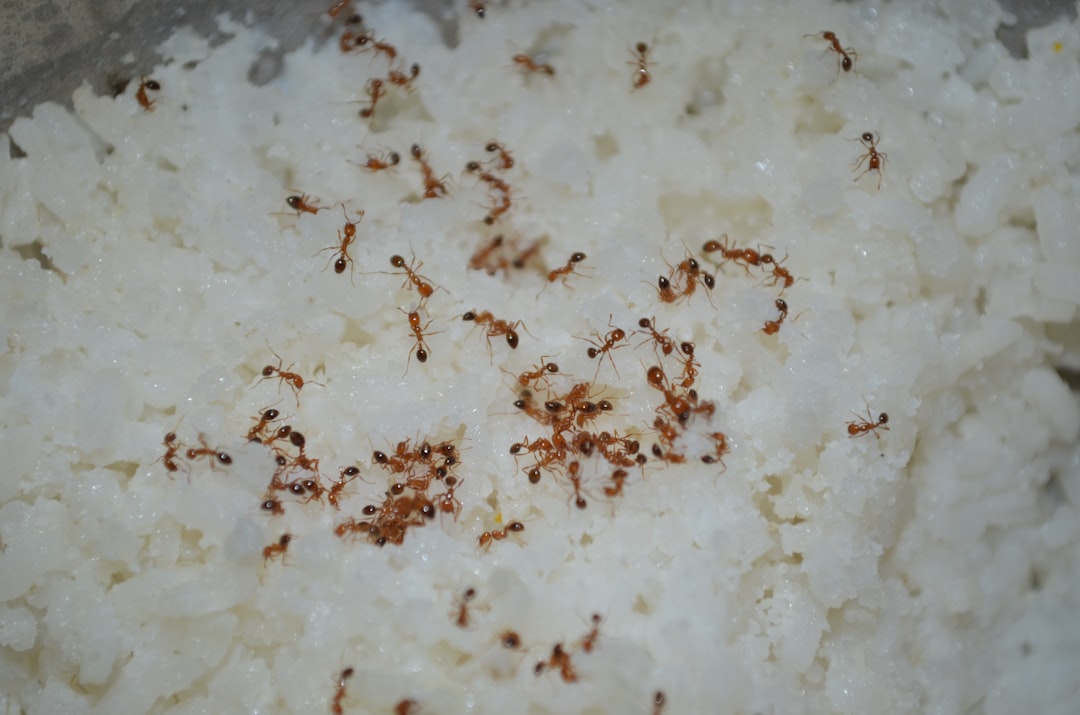
What is the best way to feed and care for my pet ants
What is the best way to feed and care for my pet ants
Welcome to the fascinating and rapidly growing hobby of myrmecology—otherwise known as ant keeping. If you have recently caught your first queen, purchased a starter colony, or simply found yourself captivated by the complex, microscopic societies living right beneath your feet, you are likely asking the ultimate question: What is the best way to feed and care for my pet ants?
Unlike traditional pets, an ant colony is a dynamic, ever-changing superorganism. Caring for them requires an understanding of their life cycle, their environmental needs, and their nutritional requirements. Proper pet ant care is a delicate balance of science, observation, and patience. Whether you are housing a tiny, timid founding queen or managing a sprawling empire of thousands of aggressive workers, your goal is to replicate the safety and abundance of their natural habitat within the controlled environment of your home.
In this comprehensive, expert-led guide, we will walk you through every aspect of ant keeping. From setting up their very first test tube to managing complex hydration systems and preparing them for winter, this article is designed to be your ultimate resource for nurturing a thriving, healthy colony.

1. Setting Up the Perfect Ant Home
The foundation of a healthy colony begins with where they live. In the wild, ants build intricate nests deep underground or within rotting wood to protect themselves from predators, extreme weather, and dehydration. In captivity, we provide them with a "formicarium" (the nest) and an "outworld" (the foraging area).
Formicarium vs Gel Ant Farm
One of the most common mistakes beginners make is purchasing a novelty gel habitat. When debating a formicarium vs gel ant farm, the professional consensus is unanimous: absolutely avoid gel farms.
Gel farms were originally designed for short-term observation (such as in space experiments) and are entirely unsuitable for long-term pet ant care. The sugary gel promotes rapid bacterial growth and mold, lacks proper ventilation, and does not provide the dark, secure environment a queen needs to lay eggs. Furthermore, ants cannot build proper chambers in gel, leading to collapsed tunnels and trapped workers.
Instead, invest in a proper formicarium made from materials like acrylic, Ytong (aerated concrete), 3D-printed PLA, or natural dirt/sand setups. These materials allow you to control hydration, mimic natural stone or wood, and observe your colony without stressing them.
Choosing the Right Formicarium Size
A critical rule of ant keeping is that ants love tight, enclosed spaces. When choosing the right formicarium size, bigger is not better.
If you place a small colony of 20 ants into a massive nest designed for 1,000 workers, the ants will feel incredibly vulnerable. Even worse, they will designate the empty, unused chambers as their garbage dump. This behavior inevitably leads to severe mold outbreaks deep inside the nest where you cannot reach to clean it.
Always start small. A newly caught queen should live in a standard glass test tube setup. Only move the colony into a small formicarium when the test tube is packed with workers (usually between 20 to 50 workers, depending on the species size). As the colony grows, you can connect additional modules.
Ant Farm Habitat Setup Guide
Creating the perfect environment requires planning. Here is a step-by-step ant farm habitat setup guide to get your colony started on the right foot:
- The Test Tube Setup: Fill a glass test tube a third of the way with water, push a tight cotton ball down to trap the water, introduce the queen, and plug the entrance with a dry cotton ball. This creates a perfect micro-climate.
- The Outworld: Once your colony has its first workers (nanitics), connect the test tube to a small plastic or glass container. This "outworld" is where you will place their food and water.
- Substrate: Line the floor of the outworld with a thin layer of natural sand, grout, or a dry dirt mix. Avoid using loose soil from your garden, as it may contain harmful mites, pesticides, or pathogens.
- Decor: Add a few small rocks or sterilized twigs. Ensure that no decor allows the ants to climb too close to the lid, which could aid in their escape.
- Darkness: Keep the actual nest area completely dark using a red transparent film (many ants cannot see red light) or a simple cardboard cover.

2. Raising a Colony from Scratch: The Founding Stage
If you have caught a wild queen following a nuptial flight, you are starting at the very beginning—the founding stage. How you care for her during these crucial first weeks will dictate the future success of the entire colony.
Feeding Queen Ants During Founding Stage
The approach to feeding queen ants during founding stage depends entirely on whether the species is "fully claustral" or "semi-claustral."
Fully Claustral Queens: Species like Camponotus (Carpenter ants) and Lasius are fully claustral. In the wild, they seal themselves in a chamber and never leave to forage. They sustain themselves and feed their first batch of eggs using their own metabolized wing muscles and fat reserves. Do not feed a fully claustral queen. Checking on her too often or dropping food into her test tube will cause immense stress, potentially causing her to eat her own eggs. Leave her in a dark, quiet place and check on her only once a week until the first workers arrive.
Semi-Claustral Queens: Species like Myrmecia (Bull ants) or Pogonomyrmex (some Harvester ants) are semi-claustral. They do not have the fat reserves to raise their first brood alone. You must provide them with a tiny, attached foraging area and offer small drops of sugar water and freshly killed small insects (like fruit flies) a couple of times a week. Remove uneaten food promptly to prevent bacterial growth.
3. Feeding Your Growing Colony
Once the first workers arrive, the colony's nutritional needs expand. Ants require two primary macronutrients to survive and thrive: Carbohydrates (sugars) for adult worker energy, and Proteins for the queen to lay eggs and for the larvae to grow.

Carbohydrates: Sugar Water vs Honeywater for Ants
Adult ants cannot digest solid food; they rely entirely on liquids. In the wild, they farm aphids for honeydew or drink plant nectar. In captivity, you must provide a steady supply of liquid carbs.
The debate of sugar water vs honeywater for ants is common among hobbyists.
- Sugar Water: A mixture of refined white sugar and water (usually a 1:3 ratio) is widely considered the safest and most effective carbohydrate source. It closely mimics natural honeydew, does not spoil as quickly as honey, and is universally accepted by almost all ant species.
- Honeywater: While natural, raw honey contains trace minerals, mixing it with water creates a solution that ferments and spoils very rapidly. If left in the outworld for more than 24 hours, fermented honeywater can poison your ants. Furthermore, some store-bought organic honeys contain natural pesticides from the flowers the bees visited, which can inadvertently wipe out an ant colony.
Actionable Tip: Use pure sugar water, or offer raw, unmixed honey in very tiny drops that the ants can consume before it crystallizes or spoils. Alternatively, you can use specialized ant nectars formulated by myrmecology shops.
Best Protein Sources for Captive Colonies
Protein is the building block of your colony. Without it, the queen will stop laying eggs, and the larvae will not spin cocoons or develop into adult ants. Finding the best protein sources for captive colonies is a matter of variety and safety.
The safest and most reliable sources of protein are feeder insects for ant colonies purchased from pet stores or bred specifically for reptiles and amphibians.
- Fruit Flies (Drosophila melanogaster): Excellent for small colonies and small ant species.
- Mealworms and Superworms: Great staple foods. They should be cut in half so the ants can easily access the soft innards.
- Crickets and Roaches (Dubia or Red Runners): High in protein and highly stimulating for aggressive, hunting species.
Crucial Warning: Never feed your ants insects caught from your backyard. Wild insects frequently carry parasitic mites, nematodes, or deadly chemical pesticides that can eradicate your pet colony in a matter of days. Always boil or freeze feeder insects for 10 minutes before feeding them to your ants. This process pre-kills the insect (protecting your ants from injury) and eliminates any potential parasites.
Specialized Diets: Harvester Ant Seed Storage
If you are keeping Harvester ants (Messor or Pogonomyrmex species), their dietary needs are uniquely different. These ants possess specialized, large-headed "major" workers designed to crack open hard seeds. They chew the seeds and mix them with their saliva to create "ant bread," which feeds the colony.
Proper harvester ant seed storage is vital. You should provide a varied mix of organic seeds (dandelion, chia, flax, and untreated grass seeds). Harvester ants require a dry area within the formicarium to store their seeds. If the seed storage chambers become too humid, the seeds will germinate or grow lethal mold. Therefore, nests for Harvester ants must have a distinct moisture gradient—one side damp for the brood, and one side bone dry for the seeds.

4. Creating the Ideal Climate
Ants are ectothermic (cold-blooded), meaning their metabolism, foraging activity, and brood development are entirely dictated by their environment.
Ant Colony Humidity and Temperature Requirements
Different species hail from different environments—ranging from arid deserts to humid rainforests. Researching your specific species' origin is non-negotiable.
Generally speaking, the ant colony humidity and temperature requirements fall into standard ranges. Most temperate and tropical ants thrive in temperatures between 75°F and 82°F (24°C to 28°C). To achieve this safely, place a reptile heating cable or a small heat mat along one side of the formicarium.
- The Gradient Rule: Never heat the entire nest. By heating only one side, you create a "thermal gradient." The ants will naturally move their eggs, larvae, and pupae to different chambers based on the specific temperature each developmental stage requires.
Humidity is equally critical. Larvae and eggs possess thin, permeable skins and will quickly dry out and die if the air is too dry. Most species require a nest humidity of 50% to 70%.
Managing Ant Colony Hydration Levels
Because precise humidity is so important, managing ant colony hydration levels is a daily task. Most modern formicariums come with integrated hydration systems, such as water towers, sponge inserts, or Ytong reservoirs.
- Nest Hydration: Add water to the hydration ports according to the manufacturer's instructions. Do not flood the nest. If you see condensation forming heavily on the viewing glass, the nest is too wet, and the ants may drown.
- Drinking Water: Ants also need access to separate drinking water. Always keep a test tube filled with water and plugged with cotton in the outworld. This ensures that even if the nest dries out slightly, the workers can drink and carry water back to the brood via their "social stomachs" (crops) to share with the rest of the colony.
5. Ongoing Care and Maintenance
An ant colony is remarkably clean by nature. They dedicate specific areas for garbage, latrines, and graveyards. However, as the keeper, you must step in to help maintain their environment to prevent disease.
Outworld Maintenance and Cleaning
Routine outworld maintenance and cleaning is essential. Every two to three days, use long terrarium tweezers to remove uneaten insect parts, dead worker ants, and dried-up sugar droplets. If left inside, insect exoskeletons will break down and attract mold or mites. To keep the outworld pristine, many advanced keepers introduce a "cleanup crew" of springtails (tiny, harmless hexapods) into the soil, which actively eat mold and decaying matter without bothering the ants.
When doing a deep clean of the outworld, temporarily block the tube connecting the nest to the outworld. Use a damp cloth to wipe the glass or acrylic walls. Avoid using harsh chemical glass cleaners or bleach, as the fumes are highly toxic to ants.

Preventing Mold in Ant Nests
Mold is the silent killer of captive ant colonies. While a tiny speck of black mold on a cotton ball is generally harmless, massive blooms of fluffy white or green mold can produce spores that suffocate the colony.
Preventing mold in ant nests requires strict adherence to three rules:
- Do not overfeed: Only feed your ants what they can consume within 24 to 48 hours. If they are dragging whole insects deep into the nest and leaving them there, you are feeding them too much.
- Proper Ventilation: Ensure your outworld has a mesh lid to allow for air exchange. Stagnant air breeds fungus.
- Appropriate Nest Sizing: As mentioned earlier, keeping a small colony in a large nest prevents them from properly cleaning the empty chambers, leading to mold buildup.
Escaping Ant Colony Prevention
Ants are natural escape artists. They can climb vertical glass, squeeze through microscopic gaps, and chew through silicone over time. Effective escaping ant colony prevention is necessary to protect your home and your colony.
The best method is applying a physical/chemical barrier around the top rim of the outworld walls (about an inch or two wide).
- Fluon (PTFE): A liquid plastic that dries into a microscopic layer of slippery ice. Ants simply cannot grip it and slide right off. It is the gold standard for ant keepers.
- Baby Powder and Rubbing Alcohol: Mixing unscented talcum powder with rubbing alcohol creates a paste. Paint this onto the top rim. As the alcohol evaporates, it leaves a powdery barrier. When ants try to climb it, the powder flakes off, causing them to fall safely back into the outworld.
- Lids: Always use a secure, tight-fitting lid equipped with ultra-fine stainless-steel mesh.
6. Ensuring Your Colony’s Well-being
Even with a perfect setup, issues can arise. Knowing how to read your ants' behavior will help you correct environmental imbalances before they become fatal.
Signs of Stress in Pet Ants
Ants communicate distress through their behavior. Catching these signs of stress in pet ants early can save the colony:
- Pacing and Frantic Running: If the workers are constantly running around the outworld in a panicked state and trying to scale the walls, the nest is likely too hot, too dry, or flooded.
- Eating the Brood: If the queen or workers are eating their own eggs and larvae, it is a sign of severe protein starvation, dehydration, or excessive vibrations. Ensure their formicarium is kept away from loud speakers, slamming doors, or heavy foot traffic.
- Scattered Trash Inside the Nest: If the ants stop using the outworld to dump their trash and begin piling it inside the nest near the queen, they are likely terrified of the outworld. This can happen if the outworld is too bright, too exposed, or if the colony is simply too small to feel safe foraging.
Ant Hibernation Cycle Guide
One of the most complex aspects of keeping temperate ant species (ants native to North America, Europe, and Northern Asia) is diapause, commonly known as hibernation.
An ant hibernation cycle guide is vital because, without this resting period, a temperate queen's lifespan will be drastically shortened, and the colony will eventually stall and collapse.
- Preparation (Fall): As autumn approaches, you will notice the colony refusing protein. The queen will stop laying eggs, and the larvae will stop growing. This is their biological clock telling them winter is coming. Slowly lower their temperature over a couple of weeks.
- Hibernation (Winter): Place the entire formicarium (or just the test tubes, if the nest can be safely disconnected) into a cool environment. A wine cooler or a specialized mini-fridge set to around 40°F to 50°F (5°C to 10°C) is perfect. Never freeze your ants.
- Winter Care: During diapause, ants do not need protein or sugar, but they do need water. Check on them once a month to ensure their hydration reservoirs haven't dried out.
- Awakening (Spring): After 3 to 4 months, slowly introduce them back to room temperature. Provide a massive influx of sugar water and protein, as the hungry colony will quickly kickstart egg production.
What If You Can't Keep Them?
Life is unpredictable. Moving, lifestyle changes, or simply losing interest can happen. If you decide you no longer want your ant, take care of pet anymore by responsibly rehoming it—do not make rash decisions.
Never, under any circumstances, release a captive ant colony into the wild. If the ants are non-native, releasing them is highly illegal and can devastate local ecosystems (similar to the invasive Fire Ant and Argentine Ant crises). Even if they are a native species, captive ants can pick up foreign pathogens from feeder insects that could decimate wild populations.
If you find that you cannot care for your colony, reach out to local myrmecology groups on Facebook, Reddit, or specialized ant keeping forums. There is a massive, eager community of hobbyists who will happily adopt and pay for shipping to give your colony a new, loving home.
Conclusion
Understanding "What is the best way to feed and care for my pet ants?" is a journey of continuous learning. By avoiding gel farms, choosing the correct nest sizes, providing a varied diet of clean sugars and proteins, and respecting their natural need for hibernation and quiet, you can raise a spectacular colony.
Ant keeping requires patience, especially during the slow founding stages, but the reward of watching a single queen multiply into a thriving, bustling metropolis of thousands of workers is an unparalleled experience. Treat your ants with respect, observe their fascinating behaviors closely, and you will be well on your way to becoming a master myrmecologist. Happy ant keeping!

De Talis Us


Dejar un comentario
Este sitio está protegido por hCaptcha y se aplican la Política de privacidad de hCaptcha y los Términos del servicio.